8 Essential Guitar String Bending Techniques
In part 1, we looked at the basics of string bending on guitar, getting physically comfortable with the bend action and using our ears to recognise the target pitch to which we want to bend the note.
This lesson, we'll expand into more advanced (but not too difficult!) string bending techniques. We'll be using string bends more dynamically and getting more physically creative with bending.
Bends should also be used in combination with
other lead guitar techniques, such as hammer-ons
and pull-offs,
but
to keep things focused we're going to
concentrate solely on the bends. Separate lessons will cover the
other techniques and you will eventually be armed with a whole array of
lead
techniques to mix and merge how you creatively wish.
Staple String Bend Techniques
In part 1 it was advised that, as a beginner, you should use 2 or 3 fingers to support the bending action. However, as you start to use string bends more dynamically, you'll find that it's not always possible to be in a position where such support is immediately available.Like with anything that involves the use of muscles, the more you use them, the stronger they will get! In fact, bending strings is a bit like weight lifting, and you can use similar exercises as you would when lifting weights (e.g. bend (lift) - release - bend - release - etc.).
However, remember to make sure every bend has a target pitch and that you're bending accurately to that pitch.
"Knee Jerk" Bend
This is a more subtle style of bend and has a nervous, jumpy quality to it. Whether you're bending a half step or whole step, try occasionally using a quick, sharp bend-release motion, making sure you don't dwell on that bent string...I suppose it's closer to a vibrato (which is a type of bending), but it's a little more defined.
Peak Picking
When I refer to the "peak of the bend" I obviously mean when the string is fully bent for the intended note (whether that's for a half or whole step bend). To enhance the climax of the bend, we can add some extra pick strokes in at its peak.This is where you can get inventive with your picking rhythm!
Bend and Fret
A nice addition to the peak picking from above. It could simply be called "bend and fret". You bend a string (e.g. G string) as usual, and then at the peak of the bend, fret another string with another available finger.Take a look (watch my pinky finger fret at the peak of the bend).
The fingers you end up using for this technique depends on whereabouts you are in the scale you're playing. Clearly, you need to know your scales to know which bends would be compatible!
How much time you spend at the peak of the bend is up to you. For example, you could simply pick once at the peak, then come back down to continue the solo.
Click to hear example
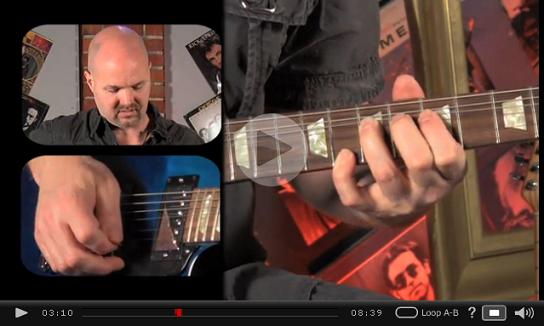
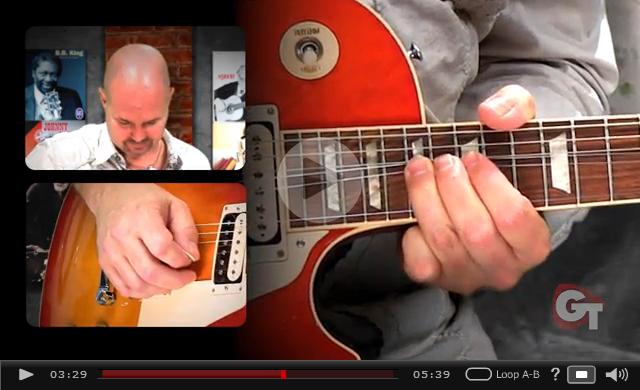
Take a look at the video below showing you this "bend and fret" technique in more detail...
Double or Triple Bend
This technique can be best explained through its sequence: pick - bend - release - bend - release - bend. That was a triple bend because there were 3 bends after picking the note. Each bend gets relaxed before the next and what you get is a wide vibrato effect... The triple bend is more suited to playing under higher gain/distortion, to keep the note resonating. If you're playing slower, the note might decay by the end of the third bend.Remember, once you're at the peak of that last bend, it's up to you where you go next. You could combine it with the other techniques we've looked at, such as the peak picking. Experiment! Mix it up!
Slow Release Bend
The idea of this one is to get to the peak of the bend as quick as you can, almost making the bend up undetectable, but then release it slooowwwly back down to its original position. A nice effect to inject occasionally...Bend and Mute
A great one for pentatonic blues licks. Make a quick, sharp bend, then as soon as you reach the peak, mute that string/note by resting your pick against the bent string. Do this for a split second, before either picking the same string again to come back down from the bend, or pick another string and leave out the "come down" altogether.Unison Bends
This is where you fret one string and bend the string directly beneath it up to the same pitch. The difference between this and the "bend and fret" technique is both strings are played at the same time, in one pick stroke.
You can learn specifically about unison bends here.Larger Bends
Up to now we've only been bending half and whole steps. But you can bend larger intervals as demonstrated in the video below.
Combining the Bending Techniques We've Learned
The idea is to integrate several of these techniques seamlessly into your solo. Easier said than done, I know! However, most of this stuff flows naturally as you learn to navigate scales. For example, you'll know that as well as simply picking to get to the next desired note in a scale (or any target note), you'll have several bending options (along with other lead techniques).So try to expand your creative options. Don't force yourself to use these techniques for the sake of it - think about context. It should be about personal expression more than anything else.
I hope I've given you some ideas to work with and build upon as your knowledge of scales and lead techniques expands.
| |
Tweet |
Sign up to the newsletter for updates and grab your free Uncommon Chords book
Related Lessons
Bending in Scales
Unison Bends
More Lead Guitar Lessons


